Create a VPS
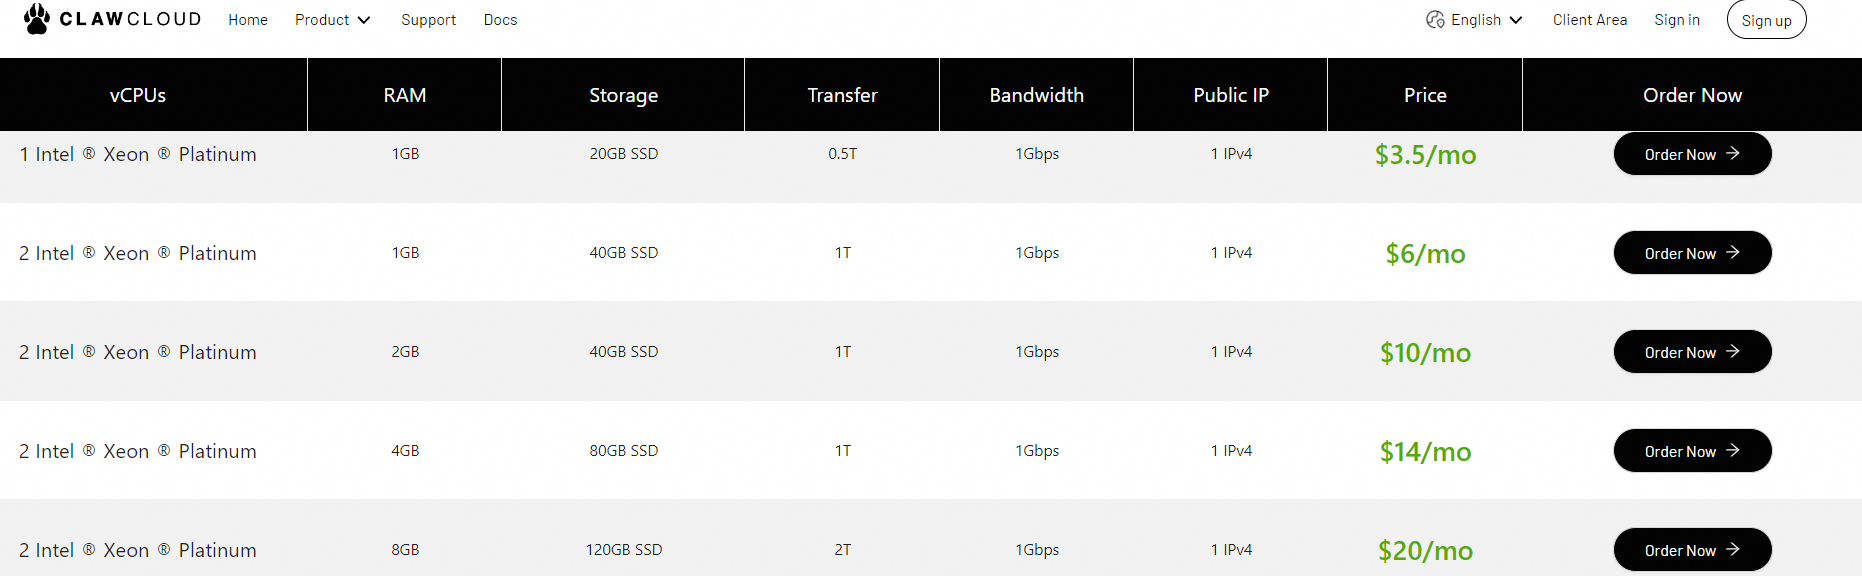
First, select the type of VPS package you need (CPU and memory size, bandwidth, etc.) on the product details page. Then, on the VPS configuration page, choose the operating system, order duration, region, and other relevant information before clicking "Create."
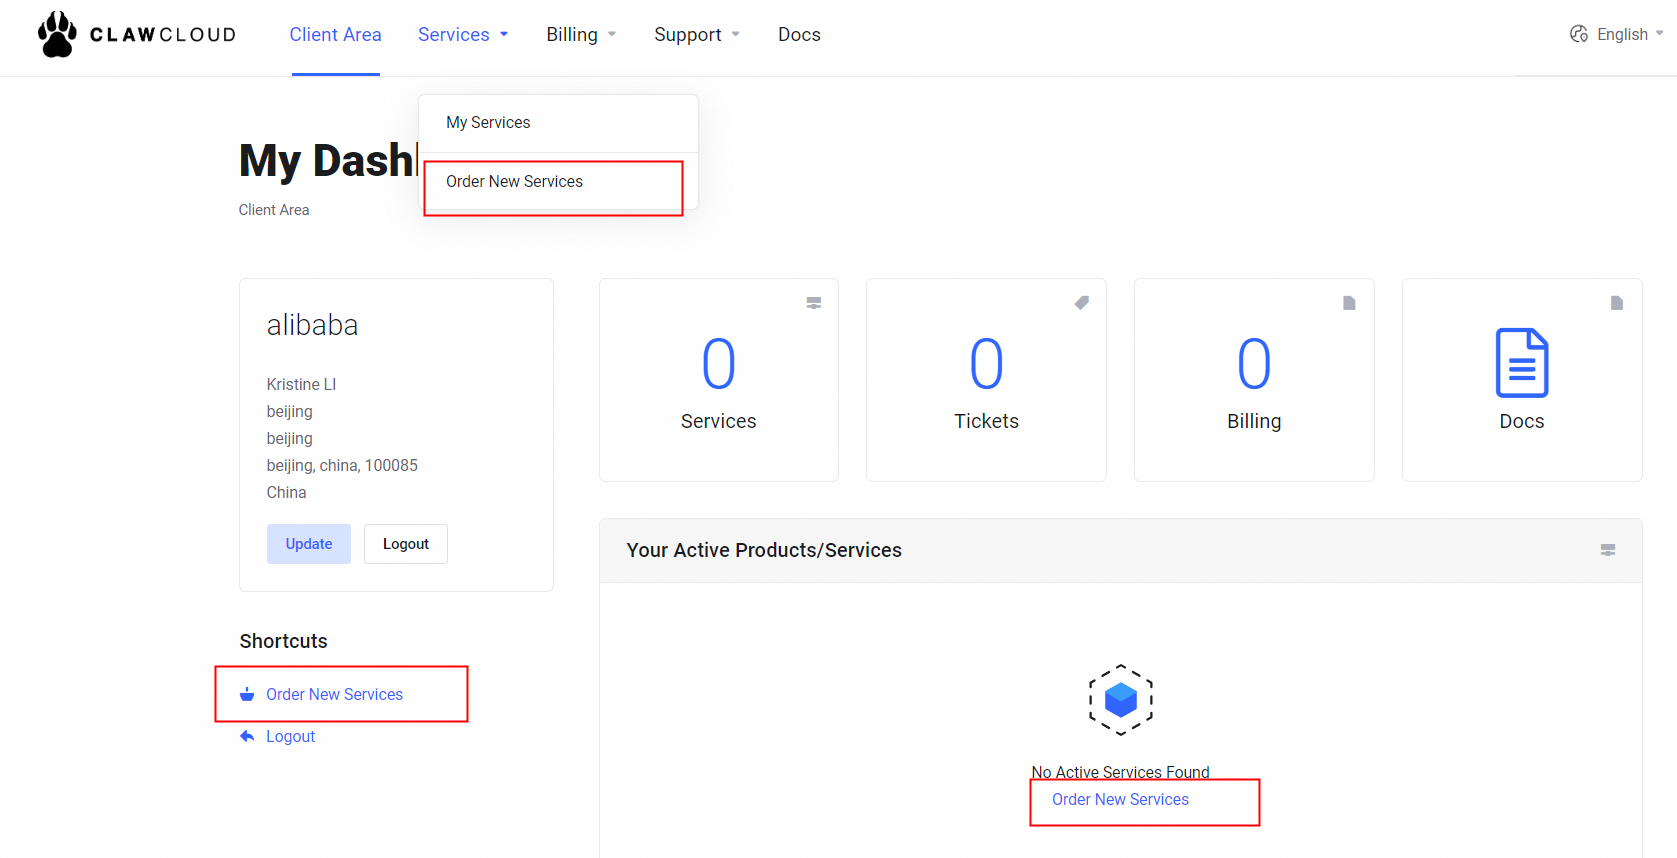
To access the ClawCloud control panel and create a VPS, you need a ClawCloud account. If you don't have one, you can create it through the ClawCloud new account registration page.
Remote Connection to VPS
After creating the VPS, you can connect to it remotely.
-We recommend using SSH for remote connection; for instructions, please refer to https://learn.microsoft.com/zh-cn/windows/terminal/tutorials/ssh.
-We also recommend using tools like FinalShell, Termius, or PuTTY for remote connections.
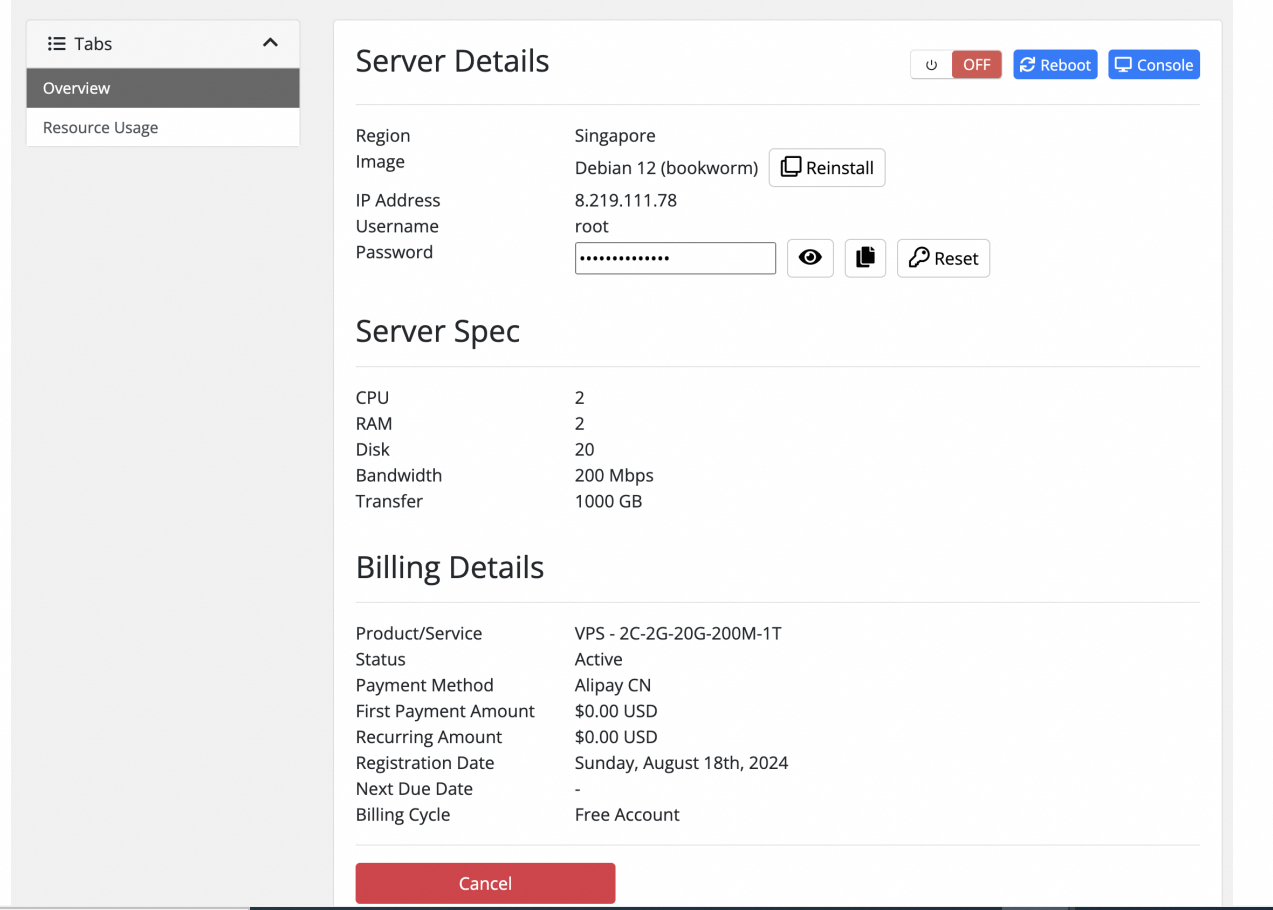
-You can also connect to the server by clicking the Console button in the upper right corner of the console.
Check Server Information
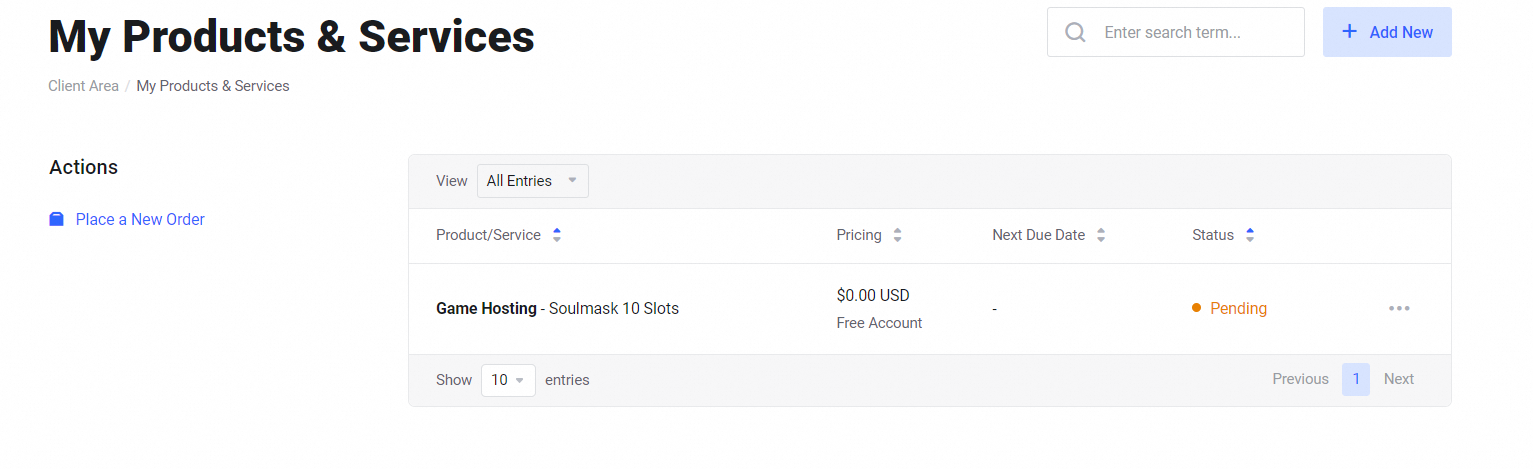
Go to Client Area - My Products & Services, and click on the name of the server you want to view the information for.
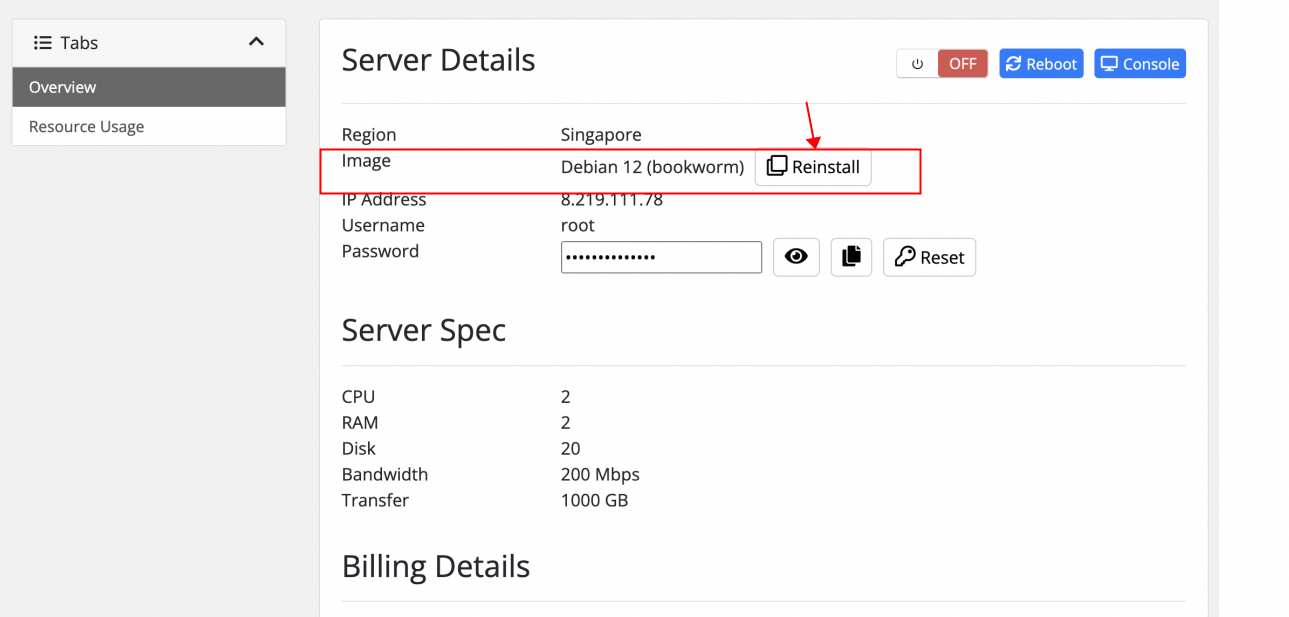
Change Operating System
Go to Client Area - My Products & Services, click "Reinstall," select the operating system configuration you need, and proceed with the installation.
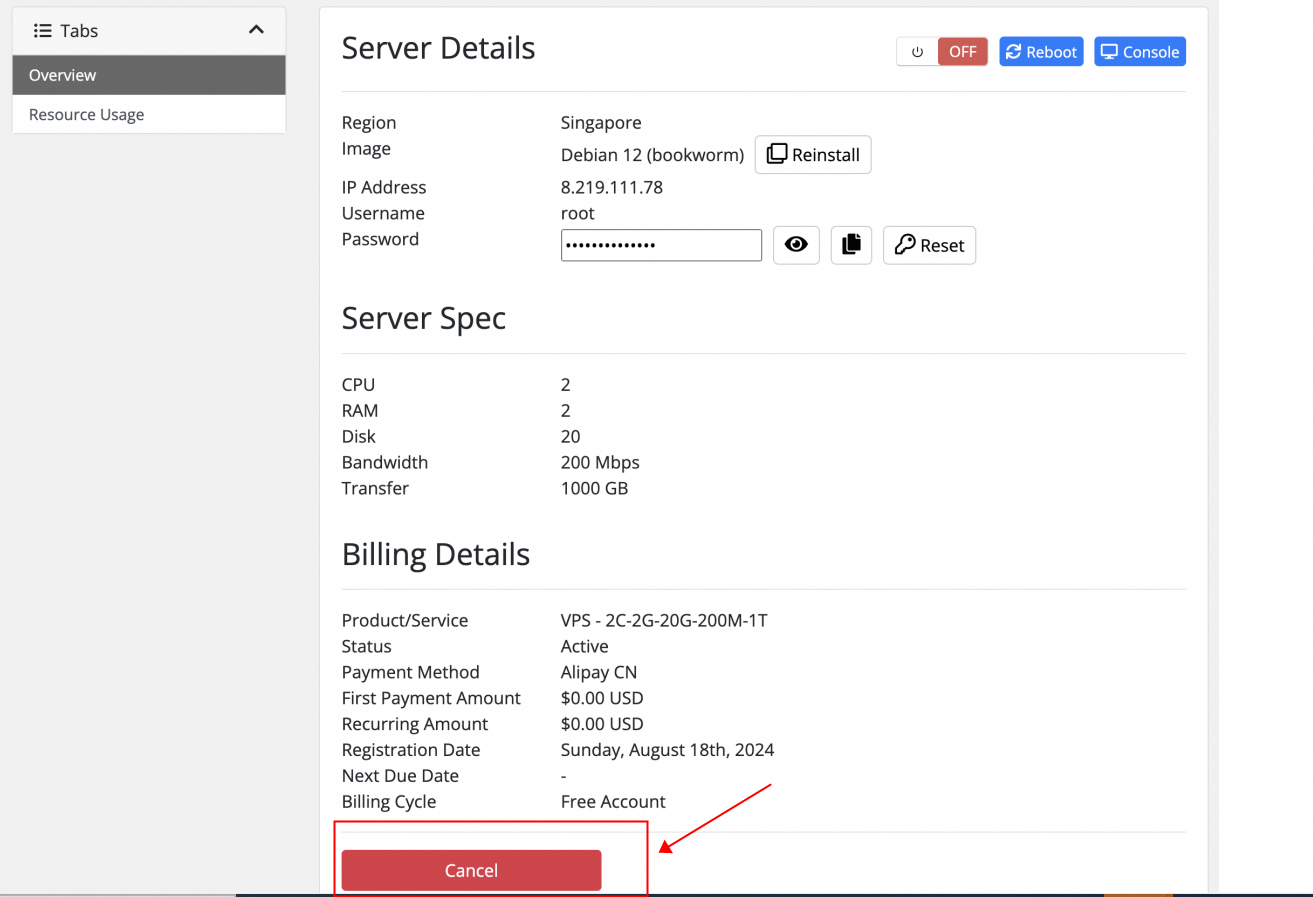
Destroying the VPS
Destroying the VPS will permanently and irreversibly delete the VPS, its contents, and any associated resources you choose to destroy along with the VPS. To destroy your resources, go to the Client Area - My Products & Services, and click on "Cancel."
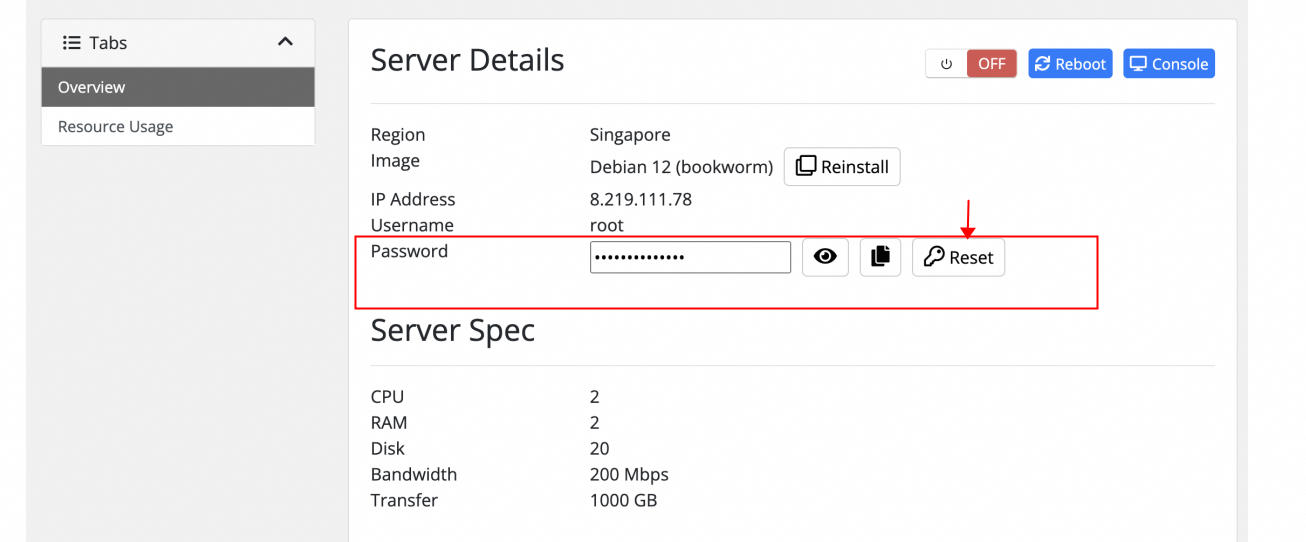
Set or reset server password
You can reset the password by clicking "Reset" in the Client Area under My Products & Services.
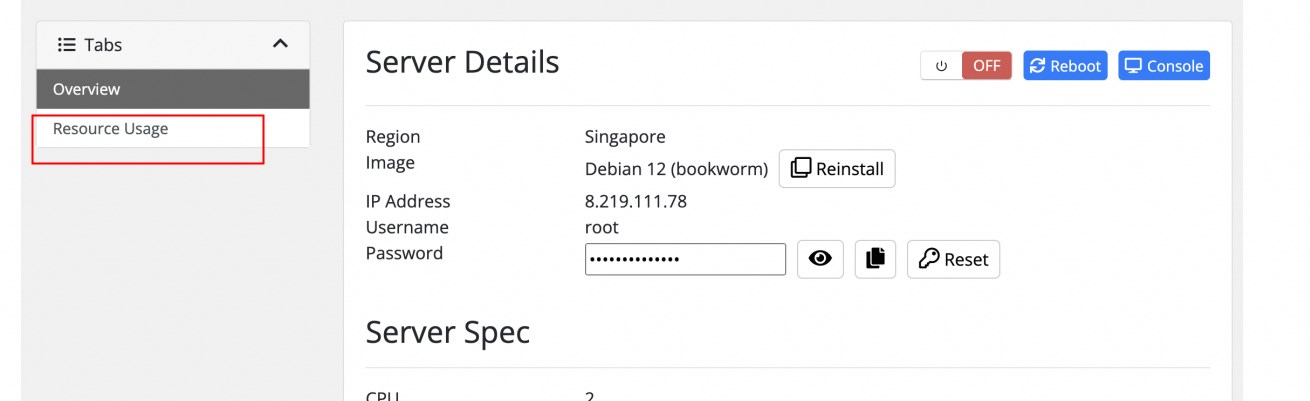
View VPS Usage Information
You can destroy your resources by clicking "Resource Usage" in the left navigation bar under Client Area - My Products & Services.
VPS Transfer Guide
Overview
This guide is designed to help users understand how to transfer a VPS from their account to another account.
Preparation
1. Backup Existing Data
Before starting any transfer operation, make sure you have completed a full backup of all critical data on the current VPS.
2. Determine the Email of the Receiving Account
Ensure that you have the correct and valid email address of the account to which you want to transfer the VPS.
Transfer Steps
Go to the Control Panel:
Click the link to go to the control panel: https://claw.cloud/clientarea
Select the Server:
In the control panel, click on the server you wish to transfer.
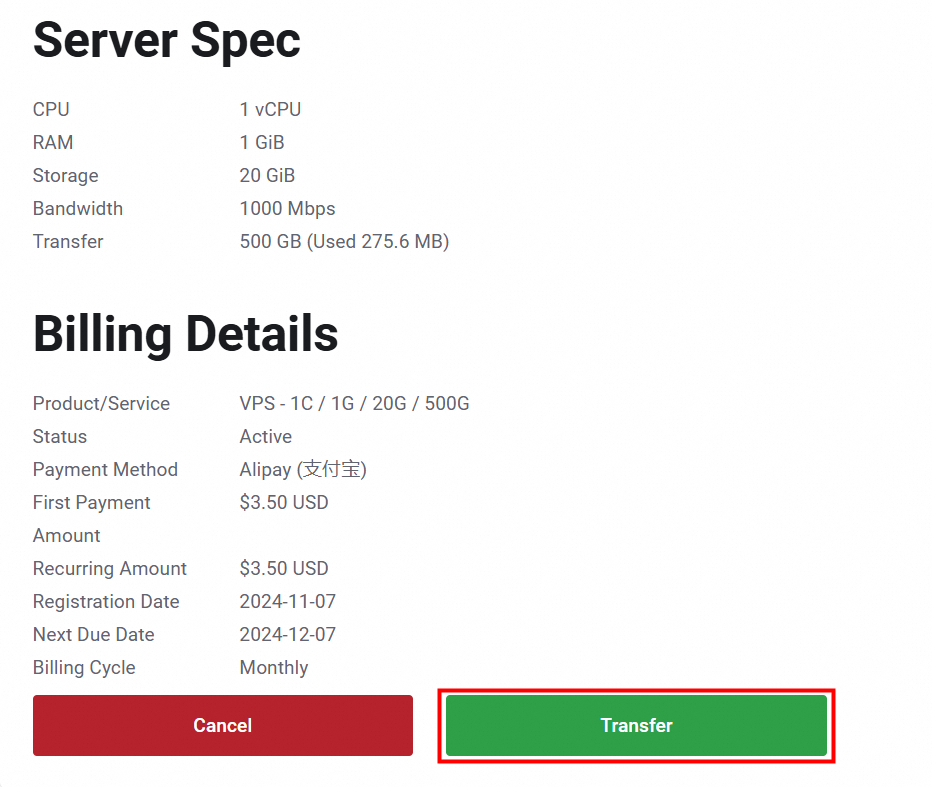
Initiate the Transfer:
Scroll to the bottom of the page and click on "Transfer" (Transfer).
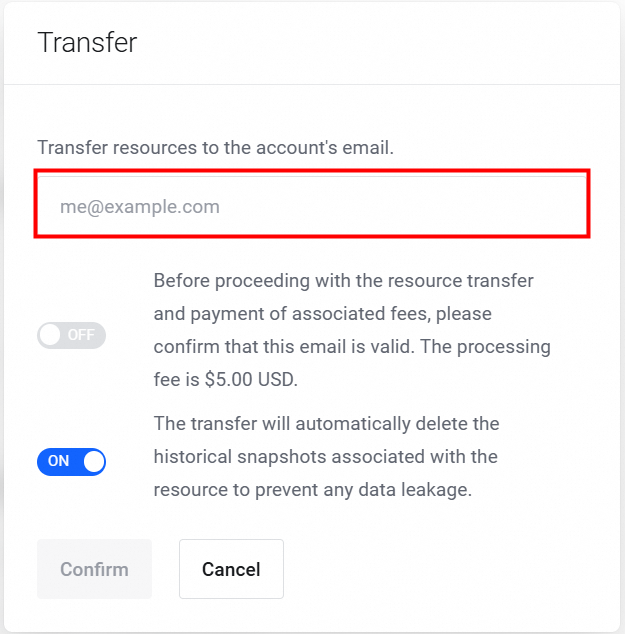
4.Enter the Receiving Account's Email:
In the pop-up window, enter the email address of the account that will receive the VPS. Please ensure the email is valid. The transfer fee is $5.
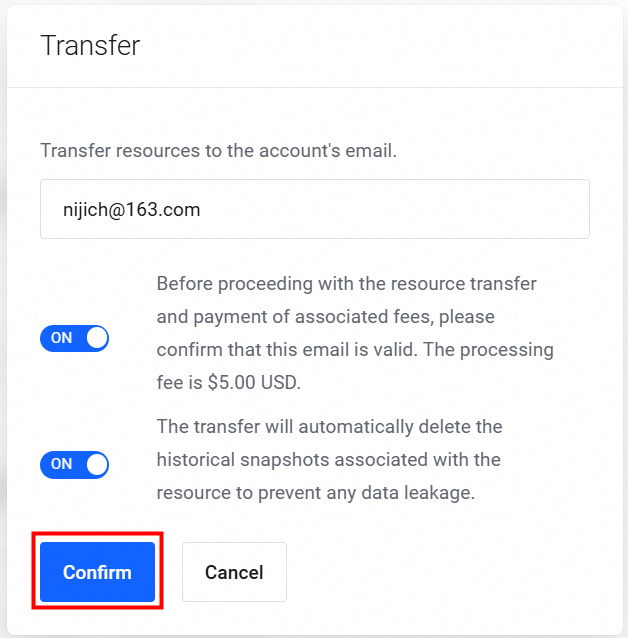
5.Confirm and Generate Invoice:
After confirming the details, click the first switch and then click "Confirm" to generate the invoice.
6.Complete Payment: Once the invoice is paid, the VPS will be immediately transferred to the receiving account.
Important Notes
- Verify the Receiving Account's Email: Ensure that the email address of the receiving account is valid.
- Historical Snapshots: All historical snapshots of the VPS will be automatically deleted upon successful transfer.
- Avoid Multiple Transfers: Do not initiate multiple transfers for the same VPS, as this may result in duplicate charges, which will not be refunded.
- Support: If you encounter any issues during the transfer process, please submit a support ticket to our staff for assistance.